
Tools and Materials
If you have never wire wrapped before, this is probably the first post of ours that you should check out. This one is all about the essentials that you need to get started on your wire wrapping journey! This is for the basics so we aren’t going to cover any of the tools required for soldering, casting, or stone setting. This is all about what you need to start wire wrapping on a tight budget.
Pliers
The first thing that we’re going to cover are the different types of pliers you’ll need.
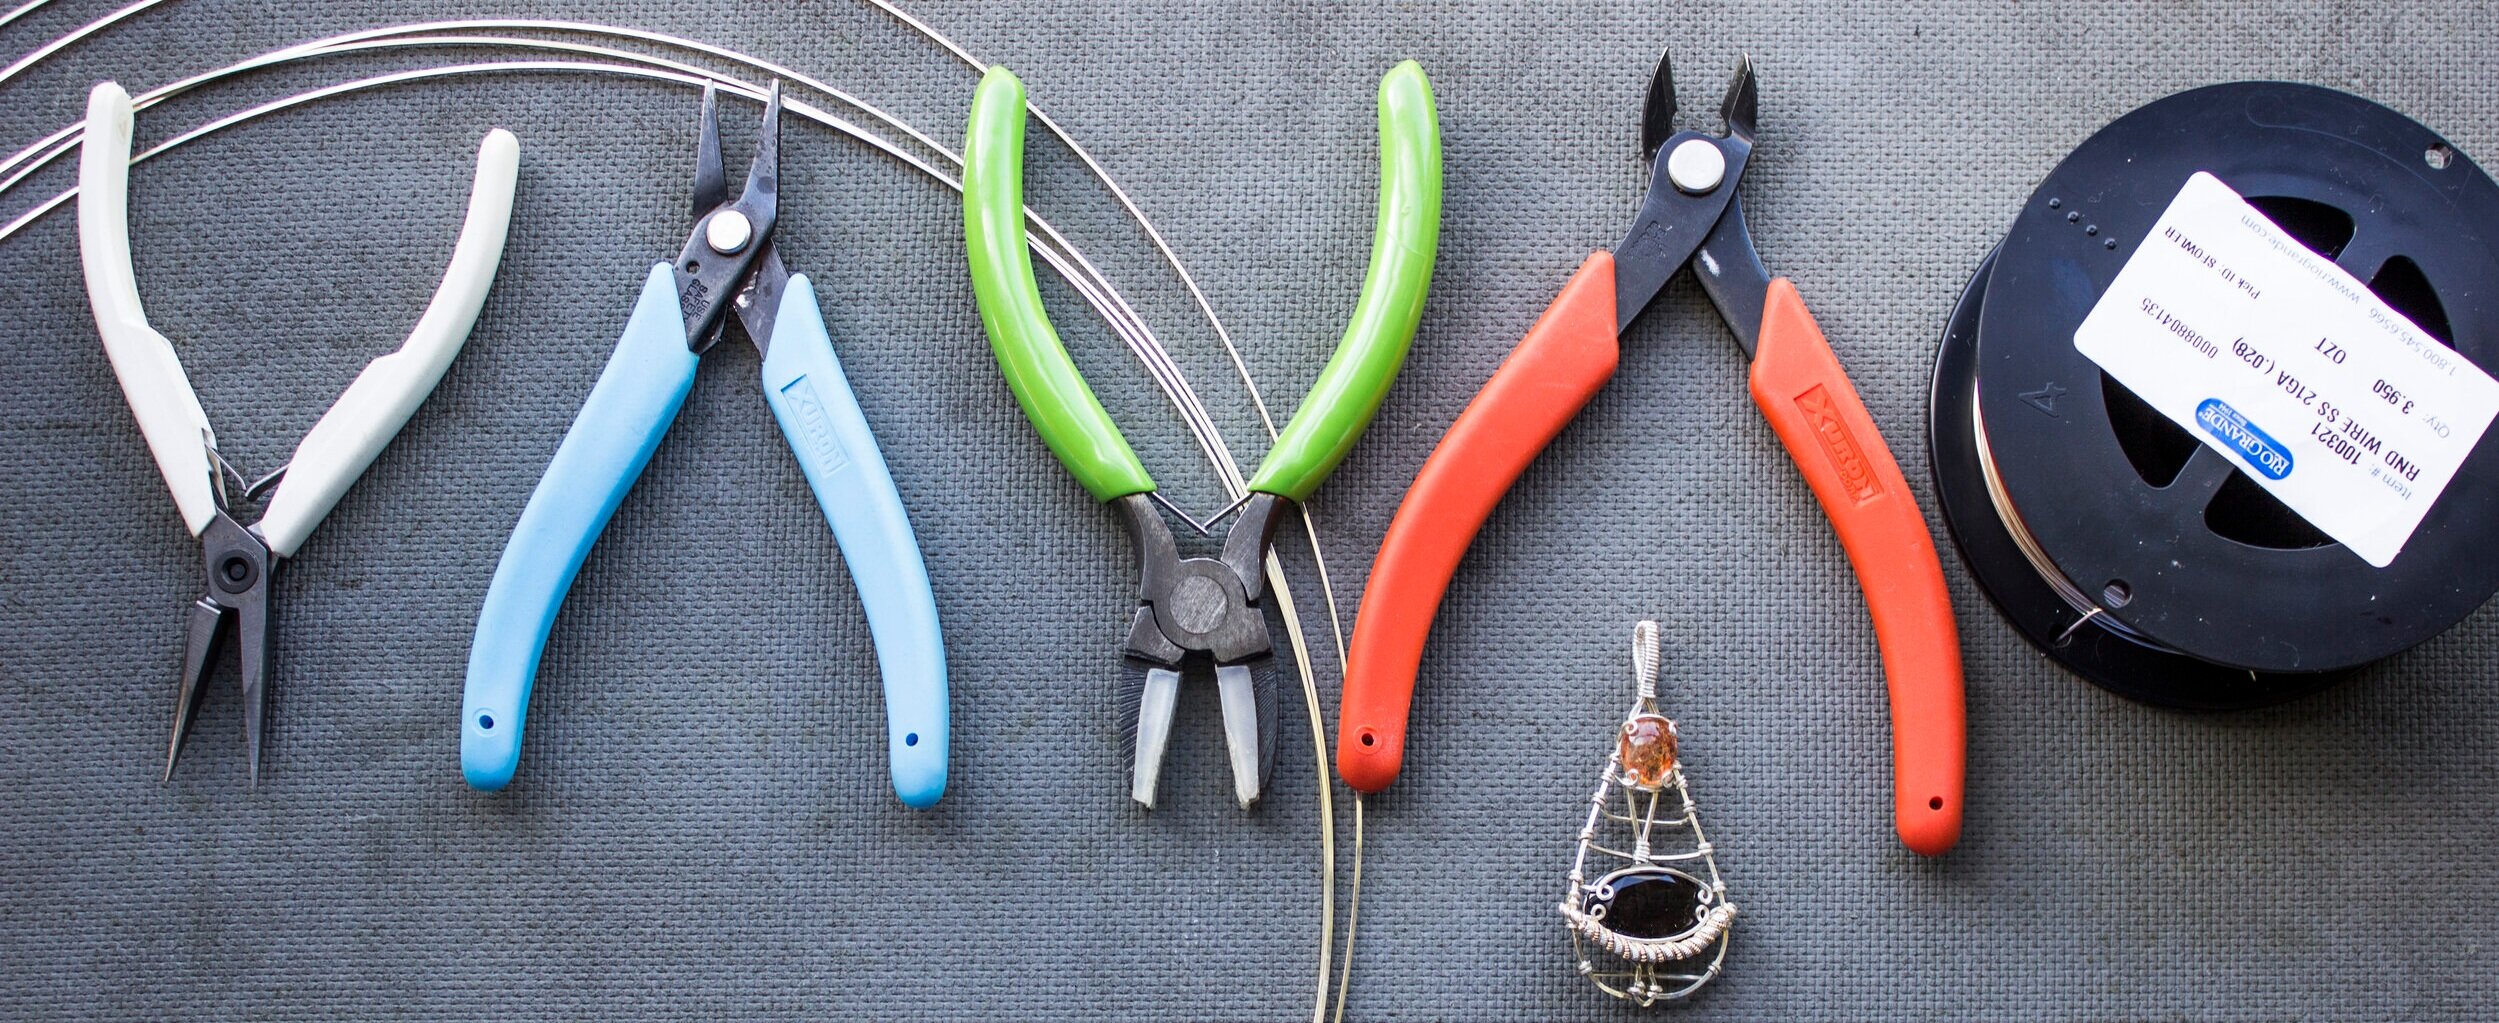
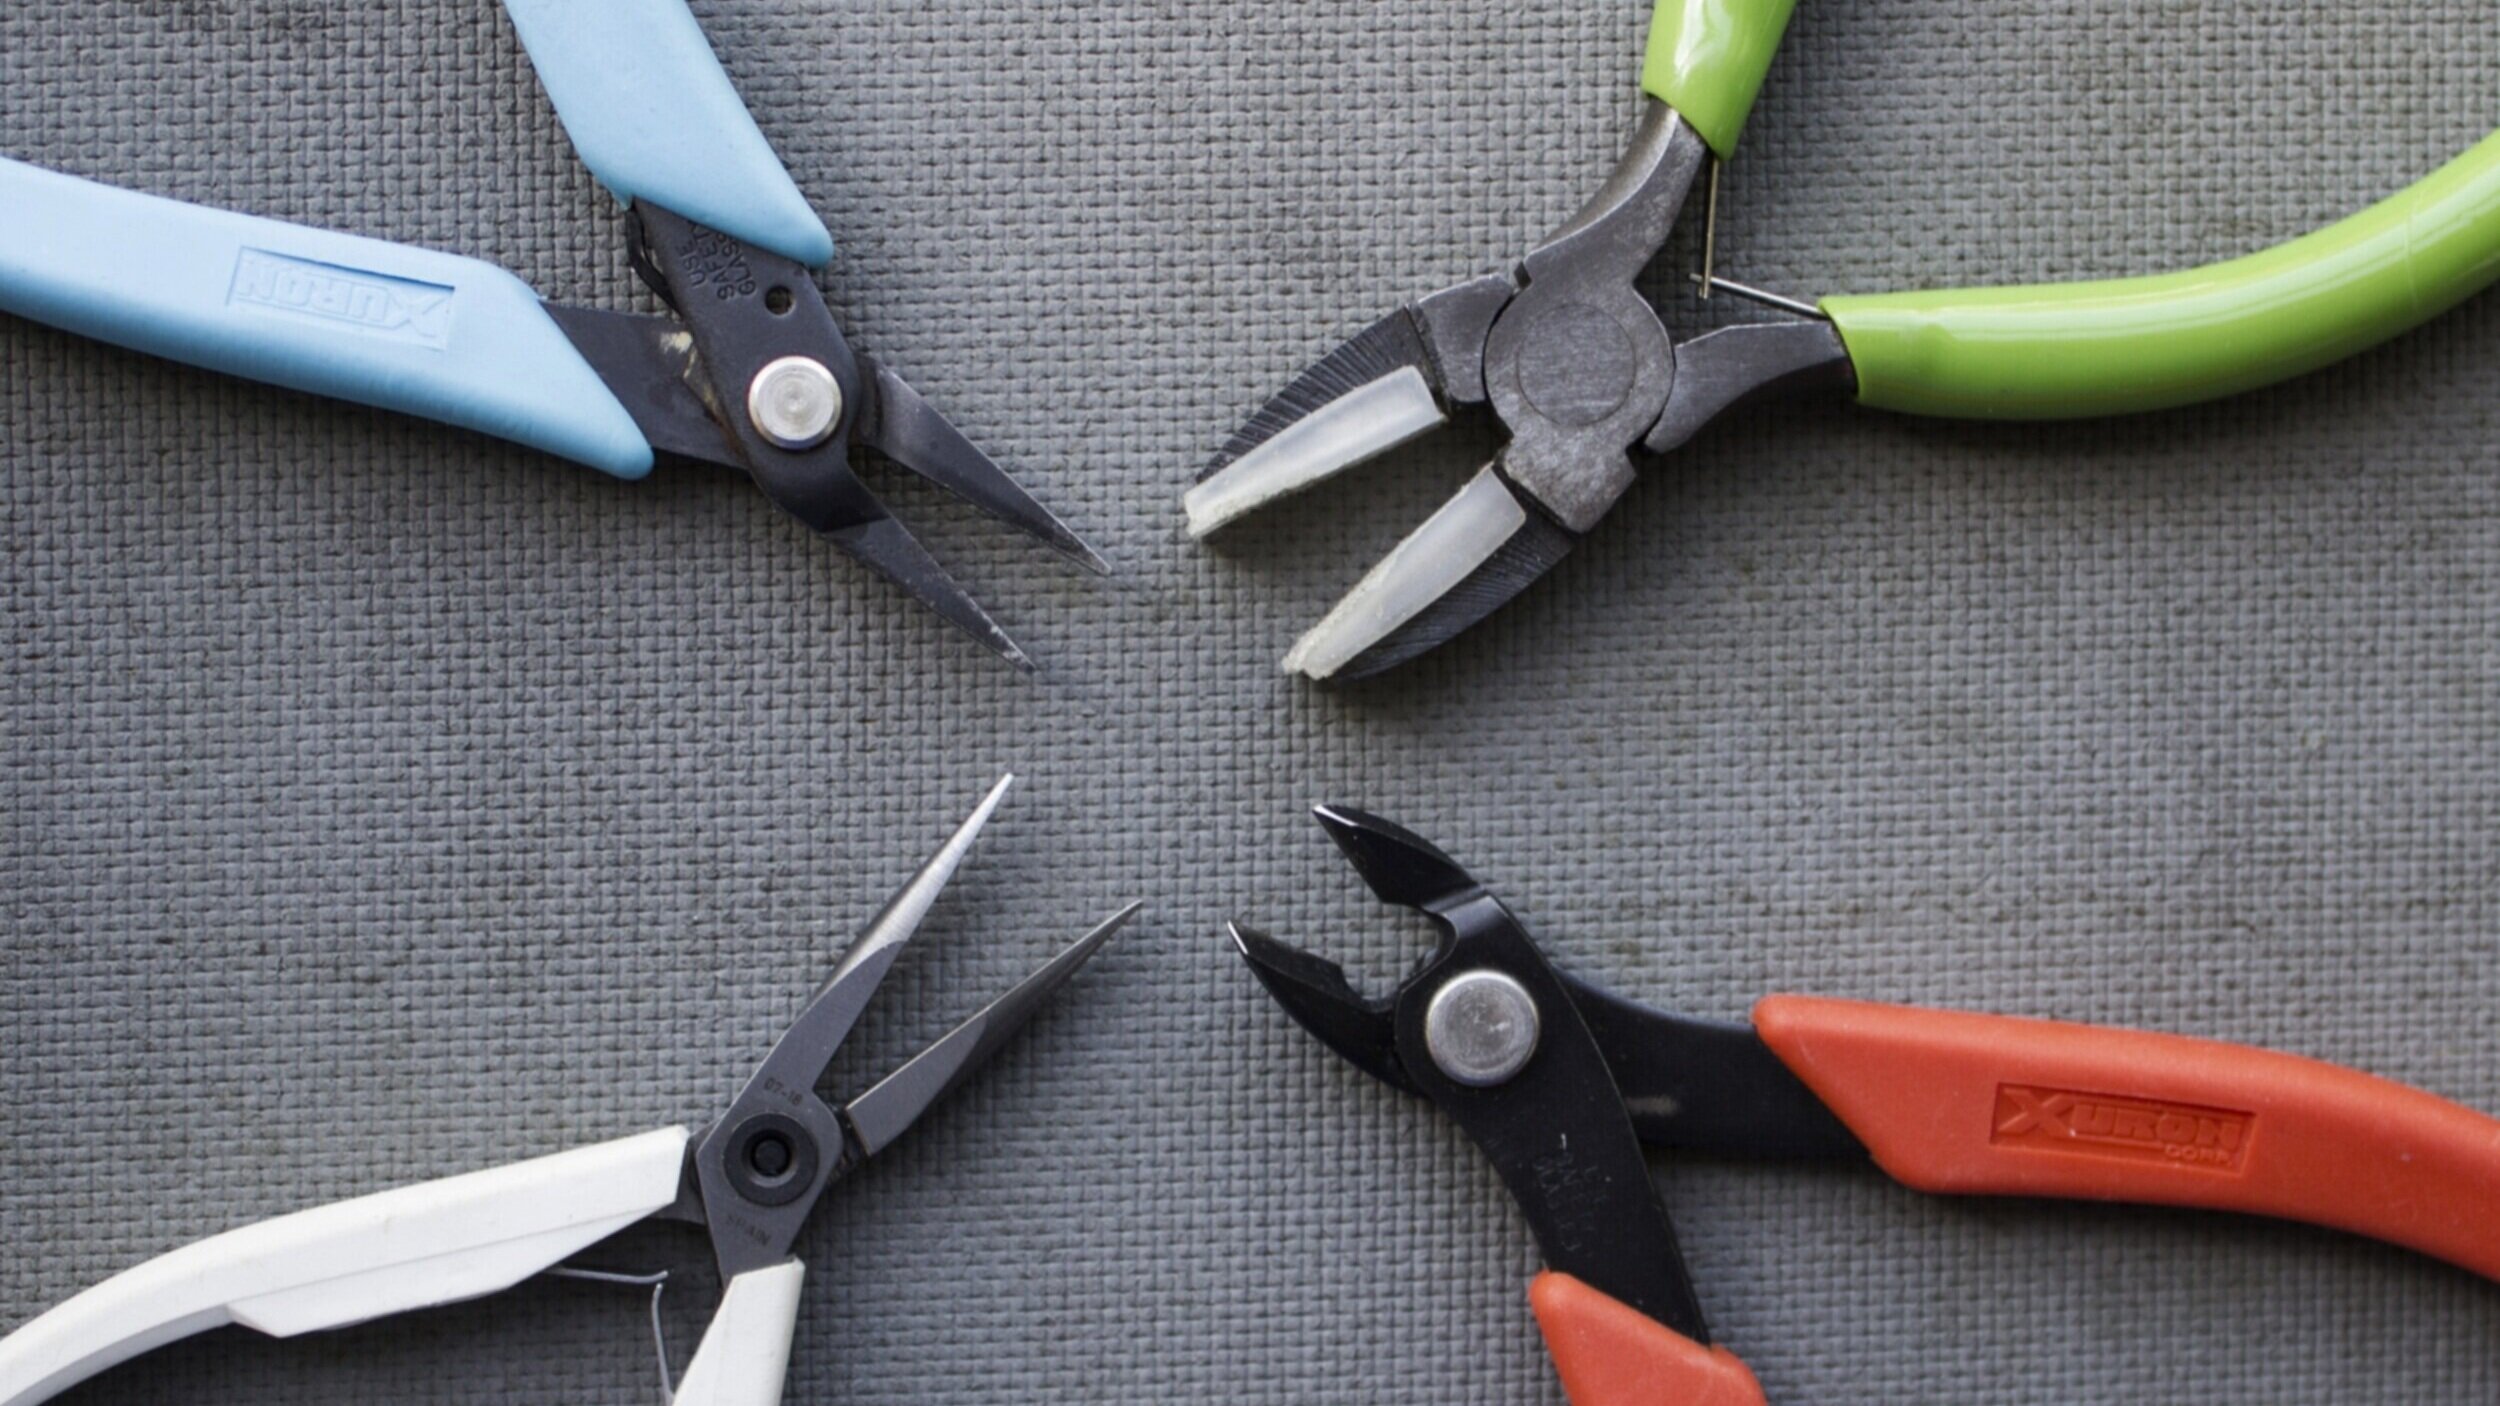
Flush Cutters - These are the pliers that you will use to cut all of your wire with. A good pair of flush cutters is important to make crisp, clean cuts in your wire. This will prevent the back of your pieces from scratching skin or snagging on clothing.
Nylon Jaw - This pair of pliers is essential for straightening wire without scratching it. You can use your fingers to straighten wire, but when working with thicker or harder wire this can strain the muscles in the hands. As a result we suggest using these as they take stress off the hand and the nylon jaws do not scratch the wire.
Flat Nose/Chain Nose/ Needle Nose - These are three different pairs of pliers but they are very similar in design and serve a similar purpose. These all have square shaped jaws, the main difference is that needle nose have longer jaws that come to a point. Chain nose have shorter jaws that come to a point, and flat nose have square jaws but the same width throughout. The main use for these is to attach one wire to another. The needle nose is great for this as they allow you to reach into tight space that may not be accessible with other pliers. If you have to choose between the three, go for the needle nose.
Round Nose - Round nose pliers have conical, tapered jaws. These can be used to create tiny loops as design elements (we will have a future tutorial on scroll work/filigree which rely heavily on round nose pliers).
This is by no means a comprehensive list of all the available pliers out there. These are the tools that we use on a regular basis to create the works of art that you can find in our portfolio. If you are on a limited budget, we suggest picking up chain nose, nylon jaw, and flush cutters as your three primary tools. Round nose are great for specific techniques and styles, and they are essential enough to make our list so we do recommend them if possible. We understand that material costs can add up quick so if you have to leave one off, wait to get your round nose. If you are curious about brand recommendations I would suggest Xuron or Lindstrom pliers. These are high quality pliers that do cost a little bit more but they will last a long time and make your wire wrapping experience much more pleasant. If you are wrapping on a budget, a cheaper set of craft pliers from your local craft store will work to get you started. When we began wrapping we bought a set of four or five pliers for under $20.
Wire
Gauges
Wire gauges are relatively simple once you understand them, but can be confusing at first if you’ve never been exposed to gauges as measurement. All you need to know is that the higher the number, the thinner the wire. The highest gauge wire you can purchase from most retailers is 32 gauge, this would be the thinnest wire available, comparable to thread. The lowest gauge or thickest wire that we usually work with is 16 gauge. Most wire wraps tend to use wire within this range, but there are no limits and most of the time the size wire you work with comes down to personal preference.
Shapes
Round Wire - We began our wire wrapping journey using only round wire and to this day it remains the shape of wire that we use most often. This wire is great for creating coils, embellishing the empty spaces of a piece, or for use in no-weave designs.
Square Wire - This was the second shape of wire that we began to experiment with. The primary way in which we use square wire is for framing pieces (Tutorial on creating frames to be released in the future). In addition to frames, square wire is great for “tech” style of wire wraps which involve clean, sharp angles.
Half Round Wire - Half round wire has very quickly become one of my favorite shapes of wire to work with. Half round is what the name implies, one side is flat, and the other side is half round. It can be used with the flat side up to expose more surface area and have a wider appearing wire. It can be used with the round side up to create a completely different feel and visual effect. My personal favorite way of incorporating this shape into pieces is as the bail (This will be covered in a bail tutorial, to be released in the future).
There are certainly other shapes of wire such as low-dome, or flat rectangle wire. These can, and are often incorporated by many artists in order to add flair and variety into a piece. If you’d like to experiment with these shapes we strongly encourage you to! We’re simply covering the most stripped down basics in this guide.
Hardness
Dead Soft - This is the softest and most pliable type of wire. For all of our work, almost the entirety of the piece is constructed in dead soft wire. Don’t be scared that your piece will be prone to warping or deforming, over time as you straighten, bend, and shape the wire that you work with it will work harden. Work hardening, at its most basic, is the reduction in the ability of a piece of metal to bend or change form as a result of it being manipulated (this can be through heat, pressure, pliability).
Half Hard - This is the hardness of wire which we use to construct our frames (frame tutorial to be released at a future date). Half hard wire is perfect for framing because you will be attaching all of your components to it; you need it to be able to resist warping and changing structure. It will be more difficult to bend and manipulate this type of wire, but it makes a world of difference for frame construction. There are a select few who chose to exclusively use this for their wire wraps (both frame and design). I offer praise and credit to those who do this. While it could certainly add to the durability of a piece, the fatigue in the small muscles of the hands and added time it would take to complete is not worth it in my personal opinion.
Full Hard - This is the hardest type of wire available. It is extremely difficult to bend and shape, and is very prone to breaking if manipulated too much. In all of the time that I have been creating jewelry I have not found a use for full hard wire.
Metal Type
Copper - This is what I would recommend you start with as it is the most affordable and widely available type of wire. Copper is harder than silver or gold and as a result it will be harder to work, but will hold its shape better. If you start with copper wire, be sure to lead free copper wire for the health and safety of both you and anyone wearing your jewelry.
Silver - Sterling silver wire or .925 sterling is 92.5% silver, with the remaining percentage usually copper. Sterling silver is more expensive than copper and generally more widely accepted for jewelry use. It Is a relatively soft metal and fairly easy to bend and form. I would recommend switching from copper to sterling silver once you begin to feel comfortable with some of the basics of wire wrapping, as it can get expensive to have to scrap multiple silver projects. You can also purchase argentium silver which contains a minimum of 92.5% silver, with the remainder containing copper and germanium. Argentium silver will not tarnish which is why many jewlers prefer it for certain projects. Fine silver (99.9% pure) is also tarnish resistant, but it is extremely soft and can be unsuitable in certain situations.
Goldfill - Goldfill wire is gold colored in appearance but not solid gold. This is not to be confused with gold plated metal. Gold fill contains significantly more gold than gold plated metal and as a result will hold up to scratches and wear and tear better than gold plated jewelry. This type of metal allows artists to create using gold tones without having to break the bank for solid gold. Goldfill can be purchased in a variety of karat purities and mixes depending on your needs.
I am going to stop here at my breakdown of the different types of metals you can work with. This is a beginners guide and I advise against working with solid gold, platinum, white gold, or palladium if you are just starting out. With that being said, if you have any questions regarding something not mentioned please feel free to reach out.